Troubleshooting 101
Troubleshooting is more than applying fixes until something starts working.
A good technician must be able to:
-
understand the reported problem;
-
identify the actual fault;
-
determine the urgency;
-
confirm the scope;
-
explain the options;
-
obtain approval;
-
perform the repair;
-
test the result;
-
demonstrate the fix;
-
document everything clearly.
A useful troubleshooting process is:
Listen. Observe. Verify. Narrow. Test. Document.
1. Understanding the Problem
The Reported Problem Is Not Always the Actual Problem
The first thing you need to do is determine what is actually wrong.
Do not assume that the customer’s description is the technical diagnosis.
Customers normally describe the effect they are experiencing.
For example:
“There is no internet.”
That may mean:
-
the Wi-Fi is disconnected;
-
the computer has no valid IP address;
-
the router is offline;
-
one website is unavailable;
-
DNS is not working;
-
the system date and time are incorrect;
-
a browser certificate error is preventing secure websites from loading.
The customer’s statement tells you where to begin. It does not necessarily tell you what has failed.
The customer describes the experience. The technician identifies the cause.
Ask the Customer to Reproduce the Fault
When possible, have the customer demonstrate the problem.
Ask them to perform the task exactly as they normally would.
Do not immediately interrupt or guide them.
Watch the entire process first.
This may reveal:
-
a missed step;
-
an incorrect shortcut;
-
the wrong application;
-
incorrect credentials;
-
an unusual message;
-
something being done before the fault appears;
-
a misunderstanding of the normal process.
If you interrupt too early, you may accidentally guide the customer around the problem and prevent yourself from seeing what normally happens.
Watch the normal process first. Troubleshoot afterward.
Questions to Ask
Useful opening questions include:
-
What were you trying to do?
-
What did you expect to happen?
-
What actually happened?
-
When did it last work?
-
Has anything changed recently?
-
Does it happen every time?
-
Is anyone else affected?
-
Was there an error message?
-
Has the system been restarted?
-
Has any new hardware or software been installed?
2. Triage
Triage is the first level of assessment.
Its purpose is to determine the urgency and immediate risk.
At this stage, you may not yet know the complete cause.
You are trying to establish:
-
how serious the issue is;
-
whether work can continue;
-
whether data is at risk;
-
whether the system should be shut down;
-
whether the issue affects one person or many;
-
whether immediate escalation is required.
A complaint such as:
“The computer is running slowly.”
may sound minor.
However, the cause could be a failing storage drive. Continued use could then increase the risk of data loss.
The urgency should not be judged only by the customer’s wording.
Triage determines how quickly the issue must be addressed. It does not necessarily determine the full repair required.
Check the Obvious
Do not skip basic checks because the answer seems obvious.
Verify:
-
Is the system powered on?
-
Is the cable connected?
-
Is the correct Wi-Fi network selected?
-
Is airplane mode enabled?
-
Is Caps Lock affecting the password?
-
Is the monitor on the correct input?
-
Is there enough free storage?
-
Is the system date and time correct?
-
Is there a hidden dialogue box?
-
Is the device overheating?
-
Is the correct user account being used?
Do not assume. Verify.
3. Confirming the Scope
Once the immediate risk has been assessed, the next step is to confirm the cause and the scope of the work.
The symptom tells you where to begin.
The confirmed cause tells you what the job actually involves.
For example, a slow computer may be caused by:
-
excessive startup applications;
-
insufficient free space;
-
malware or unwanted software;
-
incorrect power-management settings;
-
insufficient memory;
-
overheating;
-
a failing hard drive or SSD;
-
damaged system files;
-
outdated hardware;
-
several smaller issues occurring together.
Each cause may require a different level of work.
Quick Corrections
Some issues may be resolved quickly without parts or disassembly.
Examples include:
-
changing an incorrect power setting;
-
disabling an unnecessary startup application;
-
correcting the date and time;
-
reconnecting a loose cable;
-
correcting a configuration error.
Physical Cleaning and Inspection
Some repairs may require:
-
opening the system;
-
removing dust;
-
cleaning fans and vents;
-
checking cables;
-
reseating components;
-
inspecting for heat damage;
-
checking for swollen capacitors or physical damage.
This involves more labour and responsibility than changing a setting.
Software Repair
Software-only repairs may still take several hours.
These may include:
-
malware scans;
-
operating-system repairs;
-
system-file checks;
-
updates;
-
driver installation;
-
application removal;
-
startup cleanup;
-
data transfer;
-
software reinstallation;
-
extended testing.
Machine time is still part of the repair process, even if no physical part is installed.
Hardware Replacement
Hardware repair may involve:
-
identifying the correct part;
-
sourcing the part;
-
waiting for delivery;
-
replacing the component;
-
reinstalling the operating system;
-
transferring data;
-
reinstalling applications;
-
testing the system afterward.
The cost of the part is only one part of the total repair.
Assessment Fees
The assessment itself may have a cost.
Depending on the business policy, the assessment fee may be:
-
charged separately;
-
included in the total repair cost;
-
deducted if the customer proceeds;
-
retained if the customer declines the repair.
This should be explained before work begins.
Once the scope is confirmed, a more accurate price can be given.
Assessment identifies the work. Authorization permits the work.
4. Customer Approval
Once the cause, scope, cost and risks have been explained, the customer must approve the work before repairs continue.
Approval should cover:
-
parts;
-
labour;
-
data-recovery attempts;
-
outsourced work;
-
delays;
-
risks;
-
limitations;
-
possible additional costs.
Do not assume that finding the fault gives you permission to perform every repair.
A customer may have expected a minor cleanup but later be faced with:
-
a failing drive;
-
a replacement part;
-
a system reinstall;
-
data transfer;
-
software reconfiguration;
-
a much higher cost.
Even if the repair is technically correct, it may still be unauthorized.
If the required work, cost, risk or expected completion time changes significantly, stop and obtain approval again.
5. When the Job Goes Outside Normal Repair Baselines
Some repairs cannot be priced, timed or guaranteed using normal estimates.
This may happen when the job involves:
-
failing storage;
-
data recovery;
-
specialist tools;
-
outside vendors;
-
rare parts;
-
unpredictable scans;
-
uncertain file-copying times.
In these cases, the issue may be partly outside the technician’s control.
Do not promise an outcome that depends on failing hardware or an outside service provider.
Some faults cannot be given a reliable price, completion time or guaranteed result during the initial assessment.
6. Data Recovery
Data Is Often More Important Than the Device
A damaged computer can usually be repaired or replaced.
Important data may not be replaceable.
The main objective may therefore be:
-
restoring the customer’s ability to work;
-
locating another copy of the data;
-
attempting recovery where necessary.
These may be separate jobs.
The goal is not always to recover the failed drive. The goal is to restore access to the information or restore the customer’s ability to work.
Check for Other Copies First
Data recovery should not begin with the failed drive.
First, look for another copy.
Check:
-
OneDrive;
-
Google Drive;
-
Dropbox;
-
email attachments;
-
WhatsApp or other messaging applications;
-
external drives;
-
USB drives;
-
another computer;
-
server folders;
-
phone storage;
-
previous backups;
-
older versions of the file.
Many Windows users have files synchronized to OneDrive without fully realizing it.
Their Desktop, Documents or Pictures folders may already be backed up.
An older copy of a document may also be cheaper and faster to update than paying for specialist recovery.
Data recovery should begin by searching for another copy of the data.
HDD and SSD Recovery
Hard drives and SSDs fail differently.
Traditional hard drives contain mechanical parts such as:
-
platters;
-
read/write heads;
-
actuators;
-
motors;
-
controller boards.
SSDs use NAND flash memory and may fail because of:
-
controller failure;
-
firmware problems;
-
electrical damage;
-
failed memory chips;
-
encryption or mapping-table problems.
An HDD may remain partially readable despite very poor health indicators.
Another drive may report high health but already be difficult to access.
The same applies to SSDs. Some may become read-only, disappear suddenly or fail with little warning.
A drive-health percentage is an indicator, not a guarantee of remaining life or recoverability.
Do not tell a customer that their data is safe simply because software reports 99% health.
Do not assume that a drive at 2% or 0% has no readable data.
Basic Recovery
Basic recovery may be attempted when:
-
the drive is still detected;
-
files remain readable;
-
there is no serious mechanical noise;
-
the customer understands the risk;
-
the data is not extremely valuable;
-
suitable tools and storage are available.
This may involve:
-
copying readable files;
-
imaging or cloning the drive;
-
using reputable recovery software;
-
recovering deleted files;
-
checking cloud storage and backups.
Results may vary.
Repeated scans and recovery attempts can place additional stress on unstable hardware.
Do not experiment carelessly on the only copy of important data.
Specialist Recovery
Outside recovery services may be required when:
-
the drive clicks or grinds;
-
it repeatedly disconnects;
-
it is not detected reliably;
-
the SSD controller or firmware appears to have failed;
-
there is electrical, liquid or physical damage;
-
basic imaging cannot proceed;
-
the data is highly valuable.
The more valuable the data, the less experimentation should be performed before escalation.
The more valuable the data, the sooner specialist escalation should be considered.
Recovery Costs
Basic recovery work may begin in the low thousands of Jamaican dollars.
Specialist laboratory recovery may cost hundreds of US dollars or substantially more.
A job may range from approximately JMD $5,000 for basic work to USD $700 or more through a recovery lab, depending on:
-
the device;
-
the type of failure;
-
the tools required;
-
the amount of data;
-
the condition of the drive;
-
the chosen vendor.
The customer must decide whether the value of the data justifies the cost.
Cost-Benefit Analysis
Ask:
-
Is the file replaceable?
-
Is there an older copy?
-
Can it be recreated?
-
How long would recreation take?
-
Is the data personal or sentimental?
-
Is it legally or financially important?
-
Is it business-critical?
-
What is the customer willing to spend?
-
Would an older backup be sufficient?
The technician explains the options.
The customer makes the decision.
No Reliable ETA
Scans and file copies may take hours or days.
A process that initially estimates two hours may later slow down because of:
-
unreadable sectors;
-
repeated retries;
-
connection problems;
-
overheating;
-
unstable hardware.
A realistic explanation would be:
“The recovery process has started, but the completion time depends on how consistently the drive remains readable. A reliable ETA cannot yet be given.”
Do not repeatedly give inaccurate completion times.
An estimate is only useful while the conditions remain predictable. Failing storage is often unpredictable.
Restore Functionality Separately
The customer may not be able to wait for recovery.
In that case, the technician may:
-
install a replacement drive;
-
reinstall the operating system;
-
restore available backups;
-
configure essential applications;
-
return the system to service;
-
continue recovery separately.
The customer may choose:
-
the fastest option;
-
the cheapest option;
-
the highest recovery chance;
-
a balance between all three.
7. Collecting Machine Information
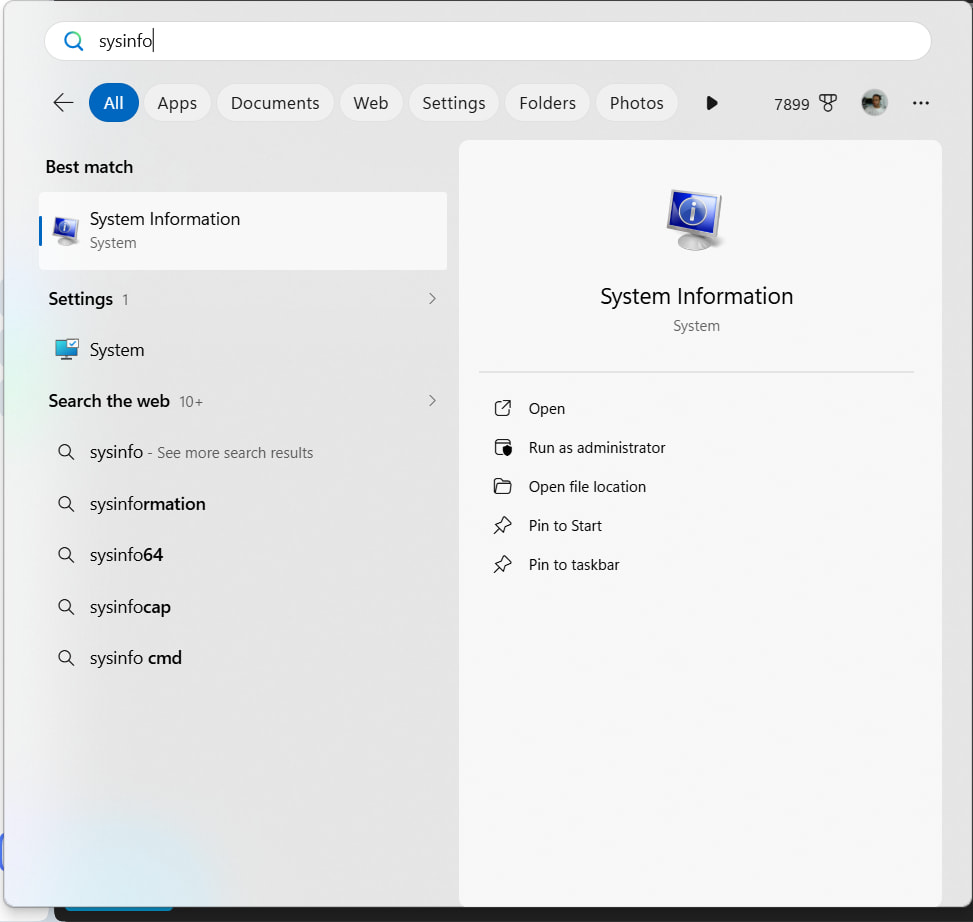
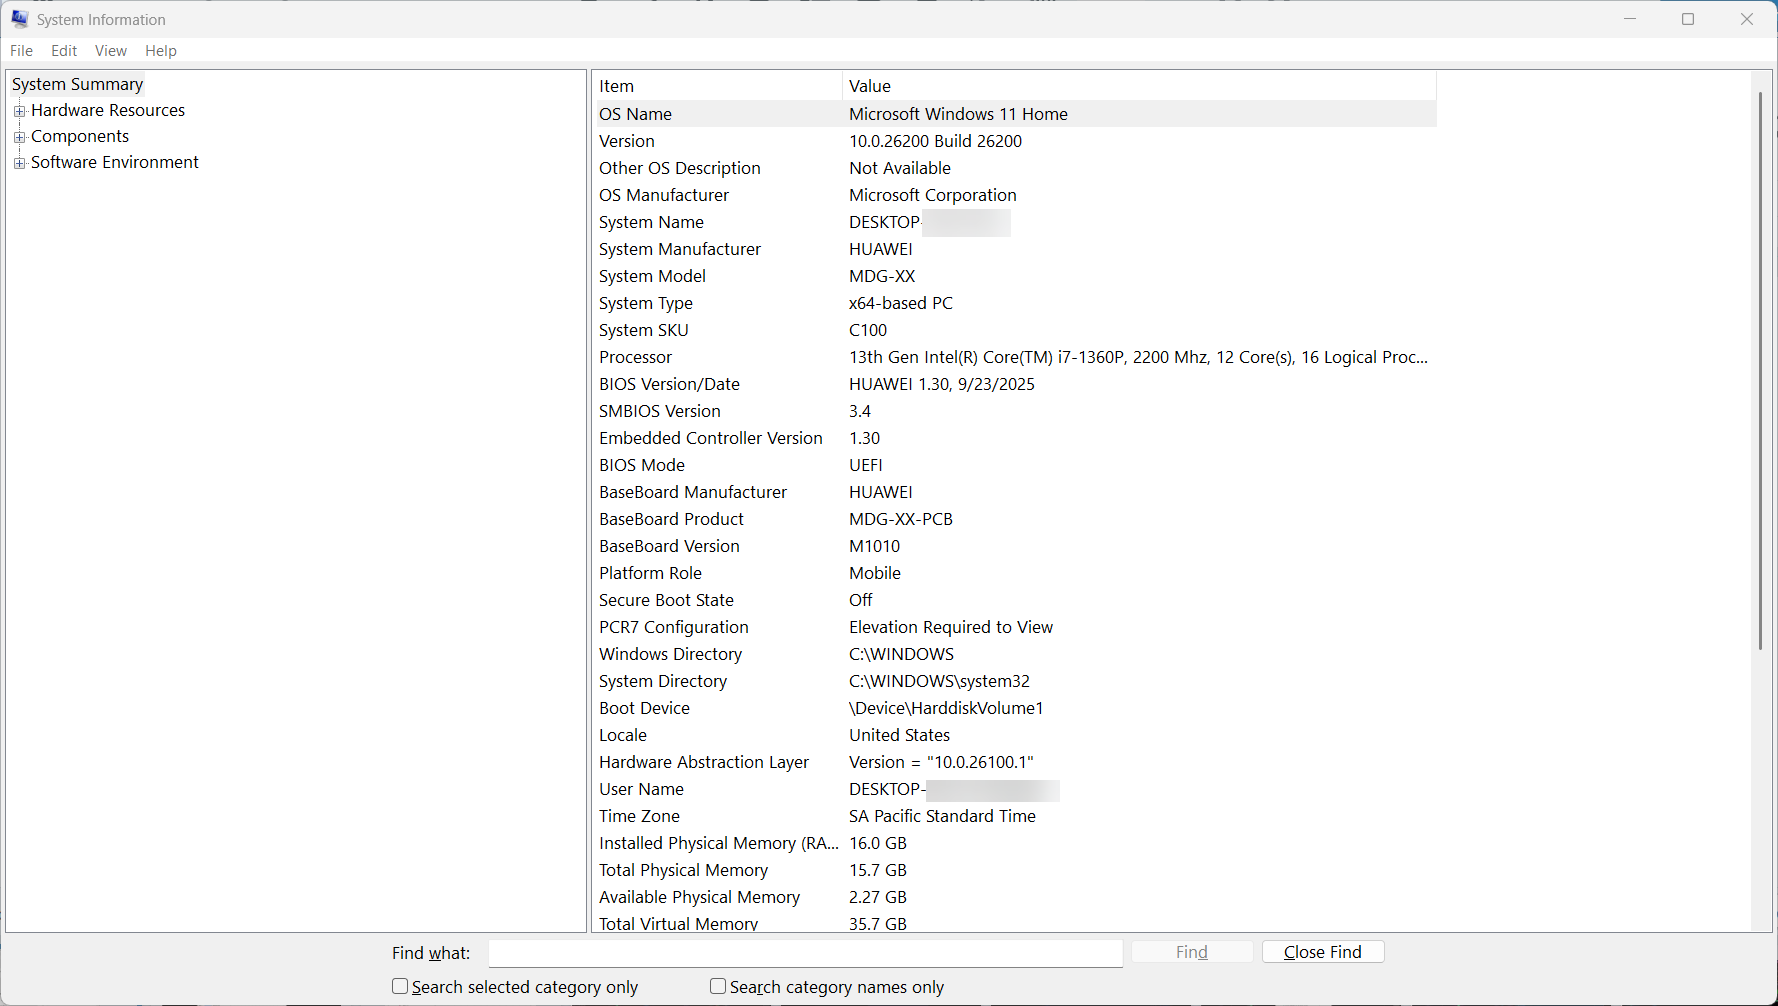
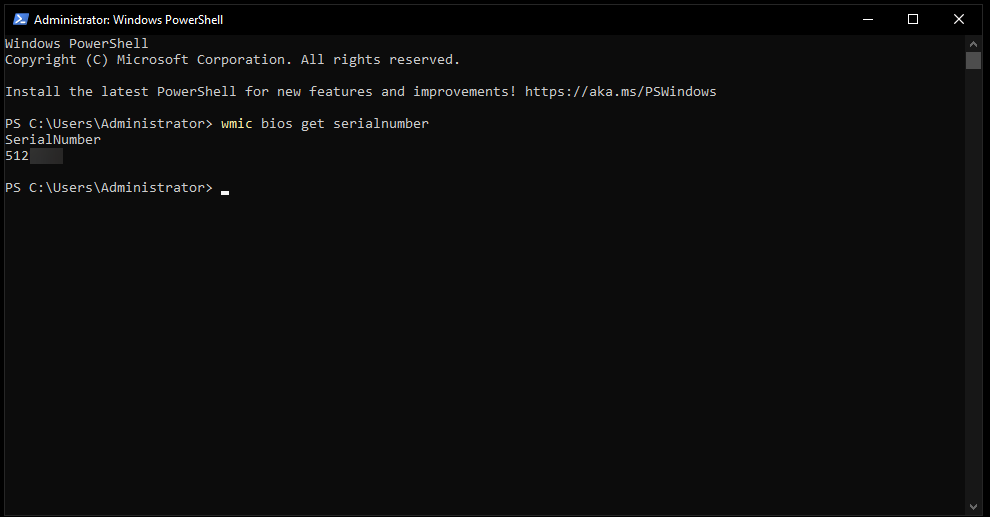
Accurate identifying information is important for tickets, asset tracking and future support.
Factory-Built Systems
For systems from manufacturers such as Dell, HP or Lenovo, collect:
-
manufacturer;
-
model;
-
serial number or service tag;
-
operating system;
-
hostname;
-
logged-in user;
-
location;
-
asset number, where available.
Generic or Custom-Built Systems
Generic systems may not have a useful system-level model or serial number.
Collect:
-
motherboard manufacturer;
-
motherboard model;
-
motherboard serial number, where available;
-
BIOS information;
-
CPU;
-
memory;
-
storage devices;
-
storage serial numbers;
-
network adapter information;
-
MAC address;
-
internal asset identifier.
Do not rely entirely on the motherboard serial number.
It may be:
-
blank;
-
generic;
-
incorrectly programmed;
-
changed when the motherboard is replaced.
For custom-built systems, use an internal asset identifier and record the major components separately.
8. Site Visits
Sometimes You Need to See the Environment
Not every issue can be diagnosed properly by telephone or remote access.
Sometimes the cause becomes obvious only when the technician visits the location.
A site visit allows you to inspect:
-
cable routing;
-
power connections;
-
ventilation;
-
equipment placement;
-
moisture;
-
heat;
-
dust;
-
physical damage;
-
improvised extensions;
-
overloaded power strips;
-
incorrect ports;
-
environmental conditions.
Remote support shows you the system. A site visit shows you the situation.
Practical Example: Poor Network Connectivity
A user complains about poor or intermittent network connectivity.
The computer is less than six feet from a network outlet.
However, the user has a 100-foot network cable coiled under the desk.
The cable is also trapped beneath a desk leg.
This creates several possible problems:
-
The cable may be crushed or internally damaged.
-
The twisted pairs may be deformed.
-
The cable may have tight bends or twists.
-
The unnecessary length adds another troubleshooting variable.
-
The total network channel may exceed the recommended distance.
A 100-foot cable is approximately 30 metres.
The technician may not know how far the permanent cable already runs from the network switch to the wall outlet.
Standard copper Ethernet normally supports a maximum channel length of approximately 100 metres.
This includes:
-
the permanent cable;
-
patch-panel connections;
-
patch cables at both ends.
Adding another 30 metres may place the total run outside the supported limit.
Even if the distance remains within specification, a cable crushed under furniture may cause intermittent faults that are difficult to reproduce remotely.
The first corrective steps should be:
-
Remove the damaged or unnecessarily long cable.
-
Replace it with a known-good cable of an appropriate length.
-
Inspect the wall outlet and connector.
-
Retest the connection.
-
Confirm whether the fault can still be reproduced.
Do not troubleshoot only the device. Troubleshoot the complete environment in which the device operates.
9. Performing the Repair
Once the customer has approved the repair and the required parts or tools are available, the work may proceed.
This may exclude jobs waiting on:
-
replacement parts;
-
delivery;
-
outside vendors;
-
laboratory recovery;
-
specialist services.
Where appropriate, the system should be physically cleaned.
This may include:
-
removing dust;
-
cleaning fans and vents;
-
checking cooling;
-
inspecting cables;
-
reseating components;
-
checking for physical damage.
Do not treat physical cleaning as automatic permission to disassemble every device.
It should be included in the approved scope where required.
Change One Thing at a Time
Avoid changing several settings at once.
If five changes are made and the problem disappears, you may not know which one solved it.
You may also introduce a new problem.
Change one thing, test, and record the result.
Be Careful With Online Fixes
Do not search an error message and immediately run the first command you find.
Check:
-
Does it apply to the correct operating system?
-
Does it apply to the correct version?
-
What does the command change?
-
Can it be reversed?
-
Is a backup required?
-
Is the source trustworthy?
-
Does the proposed fix match the symptoms?
Understanding the fix is part of troubleshooting.
10. Testing the Repair
Do not assume the system is repaired because:
-
the error disappeared;
-
the system started;
-
the application opened once;
-
the replacement part was detected.
The technician should confirm that:
-
the original fault no longer occurs;
-
the repaired component works correctly;
-
related functions still operate;
-
no new fault was introduced;
-
the system remains stable;
-
the customer’s normal process works.
The repair should be tested under conditions similar to those that originally caused the fault.
11. Customer Verification
At the beginning of the process, the customer may be asked to reproduce the fault.
At the end, the technician should demonstrate that the system now works.
The customer should then be given an opportunity to repeat the original steps and confirm that the fault can no longer be reproduced.
Show that the system works, or have the customer fail to reproduce the original fault.
The technician may confirm the repair quickly.
The customer may require more time because they need to:
-
remember their normal process;
-
log in;
-
locate files;
-
open the correct application;
-
repeat the original task;
-
understand what has changed.
Do not rush them.
Their understanding of the process may increase the time required for confirmation.
Explain:
-
what was found;
-
what was repaired;
-
what was replaced;
-
what was tested;
-
whether limitations remain;
-
what they should monitor;
-
whether further work is recommended.
The repair is not complete when the technician believes it works. It is complete when the result has been tested, demonstrated and documented.
12. Documentation and Final Sign-Off
The ticket or report should include:
-
the customer’s reported problem;
-
the actual observed fault;
-
whether the issue was reproduced;
-
the urgency level;
-
the confirmed scope;
-
tests performed;
-
test results;
-
changes made;
-
parts installed;
-
outsourced work;
-
data-recovery status;
-
customer approval;
-
final testing;
-
customer verification;
-
recommendations;
-
unresolved limitations.
Final sign-off should confirm that:
-
the customer received the system;
-
the work was explained;
-
the repair was demonstrated;
-
the customer tested or accepted the result;
-
remaining concerns were documented.
Troubleshooting Workflow Summary
-
Listen to the reported problem.
-
Ask the customer to reproduce it.
-
Observe without interrupting.
-
Triage the urgency and immediate risk.
-
Confirm the scope and likely cause.
-
Check whether data is at risk.
-
Search for backups or other copies.
-
Explain options, costs and limitations.
-
Obtain customer authorization.
-
Perform one controlled step at a time.
-
Test the repair.
-
Demonstrate the result.
-
Ask the customer to verify it.
-
Document the work.
-
Obtain final sign-off.
Final Principles
The customer describes the experience. The technician identifies the cause.
The symptom tells you where to begin. The confirmed cause tells you what the job actually involves.
Assessment identifies the work. Authorization permits the work.
Do not promise an outcome that depends on failing hardware or an outside provider.
Data recovery should begin by looking for another copy of the data.
Remote support shows you the system. A site visit shows you the situation.
Change one thing, test, and record the result.
The repair is not complete until it has been tested, demonstrated and documented.